
Confluence Zone Trading
Confluence trading combines multiple independent technical factors at the same price level. The more factors that align, the higher the probability of the setup.
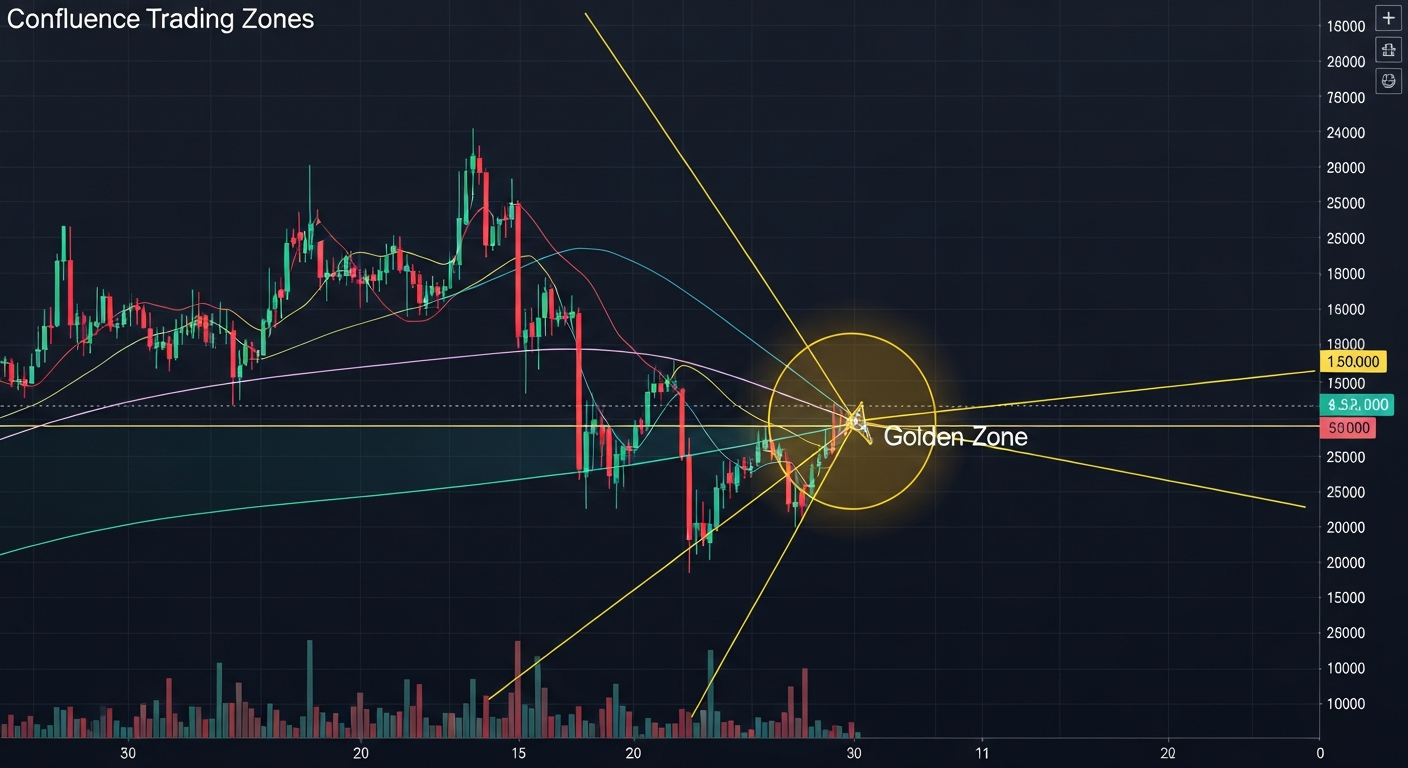
What is Confluence?
The Concept
- Single indicator signals are unreliable (50-60% at best)
- When 3+ independent factors agree at the same level = confluence
- Confluence zones are institutional quality setups
- Professional traders only take confluence trades
Confluence Factors
- Support/Resistance levels
- Fibonacci retracement levels
- Moving averages
- Trendlines
- Pivot points
- Round numbers (psychological levels)
- Previous day high/low
- Order block / Supply-demand zones
Building a Confluence Zone
Step 1: Identify Key Levels
- Mark major support and resistance on Daily chart
- Draw Fibonacci retracements from recent swing
- Plot key moving averages (50, 100, 200)
- Note round number levels
Step 2: Find Overlapping Zones
- Look for areas where 3+ factors cluster within 10-20 pips
- The more factors, the stronger the zone
- 2 factors = decent setup
- 3 factors = good setup
- 4+ factors = premium institutional-quality setup
Step 3: Wait for Price to Arrive
- Be patient. Let price come to your zone
- Do not chase price
- Set alerts at confluence zones
- Prepare your entry plan before price arrives
Examples of Strong Confluence
Example 1: Long Setup
- 61.8% Fibonacci retracement at 1.0850
- 200 EMA currently at 1.0845
- Previous support zone at 1.0840-1.0860
- Round number 1.0850
- Result: 4-factor confluence = high-probability long
Example 2: Short Setup
- Daily resistance at 1.2300
- Descending trendline touching 1.2310
- 78.6% Fib extension at 1.2295
- Previous day high at 1.2305
- Result: 4-factor confluence = high-probability short
Entry Techniques at Confluence
Limit Order Entry
- Place limit order at the center of confluence zone
- Tightest stop loss of any strategy (just beyond the zone)
- Best risk-reward ratio
- Risk: May not get filled if zone holds perfectly
Confirmation Entry
- Wait for price to reach confluence zone
- Wait for rejection candle (pin bar, engulfing, etc.)
- Enter on the next candle
- Slightly wider stop but higher win rate
Aggressive vs Conservative
- Aggressive: Limit order at zone edge, tight stop
- Standard: Wait for first rejection candle
- Conservative: Wait for price to leave zone in your direction
- Choose based on confidence level and account risk tolerance
Risk Management
Stop Loss Placement
- Place stop beyond the ENTIRE confluence zone
- Not at the first level, but past all overlapping factors
- If price breaks through all factors, the setup is invalid
- Typically 15-30 pips beyond the zone edge
Position Sizing
- Higher confluence = can risk slightly more (not much more)
- Standard: 1% risk per trade
- Maximum with 4+ factors: 1.5% risk
- Never exceed 2% regardless of confluence strength
Target Setting
- Minimum 1:2 risk-reward ratio
- Target next significant support/resistance
- Scale out at intermediate levels
- Let runners ride if trend is strong
Common Mistakes
Over-Analyzing
- Do not wait for 10 factors to align (it almost never happens)
- 3-4 strong independent factors is excellent
- Analysis paralysis kills more traders than bad entries
Correlated Factors
- Moving average and EMA at the same level is ONE factor, not two
- RSI oversold + Stochastic oversold is ONE factor (both measure momentum)
- True confluence requires INDEPENDENT technical tools
Key Takeaways
- Confluence = 3+ independent factors at the same price zone
- More factors = higher probability setup
- Be patient and wait for price to come to you
- Stop loss goes beyond the entire confluence zone
- This is how professional and institutional traders operate
Lesson Discussion